






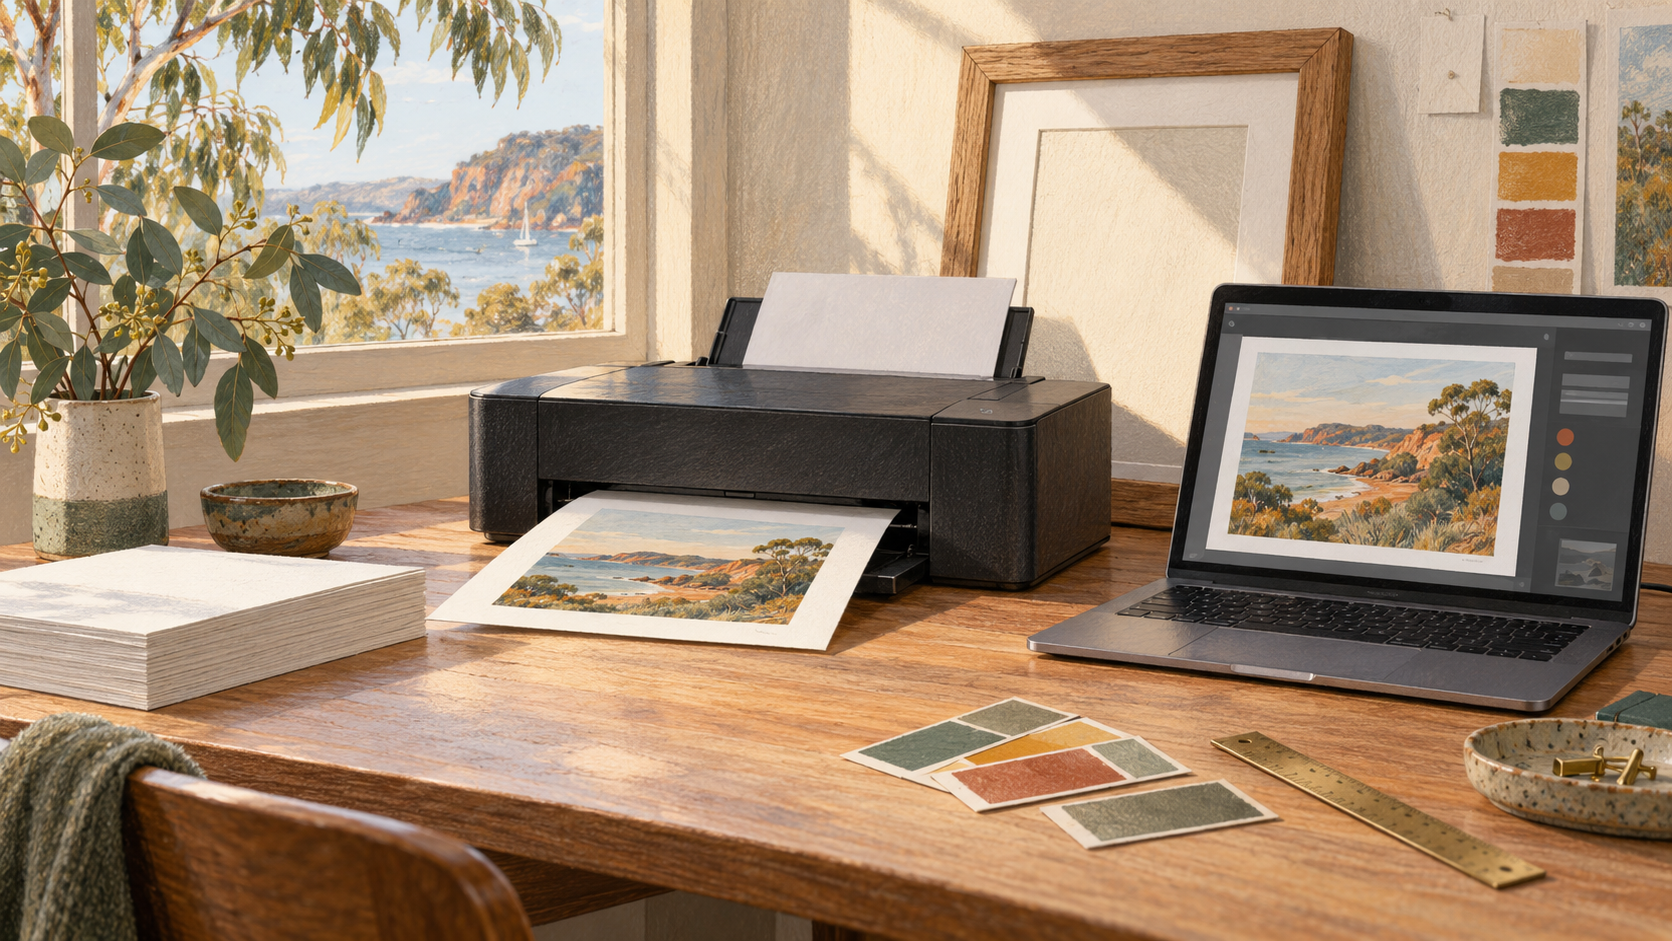
1. Let’s start with your purchased file
First, save the artwork image from My downloads onto your computer. Do not print the gallery preview, a screenshot, the room mockup or the certificate PDF as the artwork. Please keep the original download safe and use a copy if you need to make a printer-specific version.
Let’s check both pixel dimensions in the file’s information. Dividing the number of pixels by the intended print length in inches gives pixels per inch (ppi). As a planning reference at 300 ppi, the gallery’s download sizes have these long edges:
| Download | Long edge | Print length |
|---|---|---|
| Small | 3,600 px | 12 in / 30.48 cm |
| Medium | 7,200 px | 24 in / 60.96 cm |
| Huge | 14,400 px | 48 in / 121.92 cm |
The shorter edge depends on the composition. These are pixel calculations, not promises that your printer, paper or artwork will suit every size. You can print smaller; a larger print needs a sensible viewing-distance and quality check. Changing the resolution label alone does not create more image detail.
Measure the frame’s visible opening, not its outer frame. A4 paper, a 4:5 picture and a 2:3 picture are different shapes. To keep the whole work, use a border or a suitable mount. A border is often the most elegant solution, and I’m rather fond of keeping my signature in the picture.
2. Find a paper your printer can work with
I’d begin with your printer’s manual for supported paper sizes, thickness, weight, feed tray and printable margins. Choose paper intended for that printer technology: ordinary office paper and coated photo paper behave differently. Do not feed inkjet-only paper into a laser printer unless its maker explicitly permits it.
Matte paper gives a quieter surface with less glare; lustre or satin sits between matte and glossy. Textured fine-art paper can be lovely, but only if the printer can feed and print it correctly. Start with a compatible paper you can buy in a small pack rather than committing to a large box. Let’s find a paper your printer likes before introducing it to an entire box.
Load the printable side as the paper and printer instructions specify. Check ink levels and run the printer’s nozzle check if prints already show missing lines. Use its documented maintenance routine only when needed.
3. Let’s check the settings before Print
- Printer: select the physical printer, not a PDF output option.
- Paper: set the actual loaded paper size, matching media type and the correct tray. Choose a photo or high-quality mode suitable for that paper.
- Layout: preserve the image proportions and choose a fit that shows the whole image. Leave margins unless you have deliberately prepared a borderless version.
- Colour: start with the supplied file and its embedded profile. Avoid auto-enhancement, filters and a second round of saturation changes.
- Colour management: let one system manage colour. For a simple workflow, use the printer’s recommended settings; if you deliberately use an application and paper ICC profile, follow that workflow and avoid a second conversion by the driver.
- Final preview: inspect all four edges, the signature, orientation and number of copies.
I’d keep the first proof to one copy. We’re finding the right settings, not opening an exhibition just yet.
Borderless printing can enlarge an image beyond the paper edge. That may remove a thin strip of the composition even when the paper has the correct ratio. A bordered print is safer when every edge must remain visible. See your model’s manual for its expansion setting.
4. On a Mac, using Preview
If you’re on a Mac, let’s work through Preview together.
Open your image
Open the saved artwork in Preview and choose File → Print. Select the printer and loaded paper size. Expand the print options if necessary.
Preserve the whole image
In the Preview print options, choose Scale to Fit, then Print Entire Image. The alternative Fill Entire Paper can crop to the paper’s shape.
Review the remaining settings
Check orientation, paper type, quality and copies. For an exact image size, verify the scaling and physical dimensions rather than assuming fit-to-paper will match a frame.
Print one proof
Confirm that the preview includes the signature and all edges, then print a single copy.
Apple’s current Preview printing instructions (opens a new tab)
5. On Windows
If you’re using Windows, I’ll take you through the checks that matter. Open the saved image in your photo-printing application or the printer manufacturer’s application and open its Print command. The exact controls vary by application and printer driver.
Choose your paper and printer
Select the physical printer, loaded paper size and orientation. Open the printer preferences to match the paper type, feed source and quality.
Choose a complete-image layout
Look for a fit or full-image option and inspect the preview. If a fill-frame option cuts off the edges, turn it off or use a layout with borders.
Check the size and quantity
A full-page layout may resize the artwork. Verify the dimensions if you need an exact frame fit, and keep copies set to one for your first proof.
Use model-specific help
If a setting is missing, use your printer’s current instructions instead of guessing. For example, Epson Print Layout provides paper, layout and colour settings for supported Epson printers.
Epson’s Print Layout example for supported SC-P700/P900 printers (opens a new tab)
6. Give your first proof a little time
I’d start with a small version on your chosen paper to check the overall colour and balance. A small proof will not reveal all the sharpness issues of a much larger print; inspect an actual-size detail or ask a laboratory for a proof if you plan to enlarge it.
Let the print dry for the period recommended for your ink and paper before judging the final result. Handle it by the edges, keep the printed face free of fingerprints, and let sheets dry separately rather than stacking them. Do not force a wet print into a frame. While it dries, there’s time for a cuppa, provided it stays well away from the print.
Now take a look in the light where you’ll hang it. A luminous screen will never look exactly like ink on paper. If the print is too dark, check the paper setting, colour workflow and screen brightness before changing the artwork itself.
Once dry, use a suitable mount or spacer so the printed surface does not press against the glazing. Keep the print away from direct sunlight and damp areas; ask your framer about conservation materials if long-term display matters to you.
If the first print needs a little help
Please don’t feel you need to solve everything at once. I’d start with the check beside what you’re seeing, then try another proof only when you’ve found something to adjust.
| What you see | What to check |
|---|---|
| Missing edges or signature | Use a complete-image fit, disable cropping and inspect borderless expansion. Try a white border. |
| Unexpected white edges | The image ratio or printer margins differ from the paper. Keep the border or ask for a suitable custom version. |
| Soft or pixelated detail | Check that you opened the purchased file and that it has enough pixels for the chosen physical size. |
| Bands, gaps or streaks | Run the printer’s nozzle check and follow its maintenance guide; confirm the correct printable side and paper feed. |
| Colours look wrong or too dark | Check media type, extra enhancements and double colour management. Judge a dry proof under useful light. |
| Wrong physical size | Recheck paper size, orientation and scale. Fit-to-page is not necessarily an exact image size. |
| Smudges or ink rubbing off | Check paper compatibility, printable side and drying instructions before another attempt. |
Rather hand it to a printer?
You’re here to enjoy the artwork; there’s no prize for personally negotiating with every printer setting. I’ve put together this brief for you to give a professional printer, alongside your licensed artwork file:
Please print the complete composition at the agreed image size, without cropping or stretching. Keep the artist’s signature visible and avoid automatic colour enhancement. Please check with me before changing the crop, border or image area.
Add your required width, height, paper, border and quantity. Confirm whether the quoted size is the image area or the whole sheet. Compare the ten printing options.
You may use a professional printer or a private one-off print-on-demand order for display allowed by your digital licence. Keep the file private. Decline promotional sharing of the artwork; if a provider requests rights beyond producing your print, check with Robin before uploading. Do not publish it to a shop, resell prints or turn it into merchandise.
Official instructions
Provider pages checked 12 October 2026. Buttons, prices and availability can change; use the provider’s current details before paying.